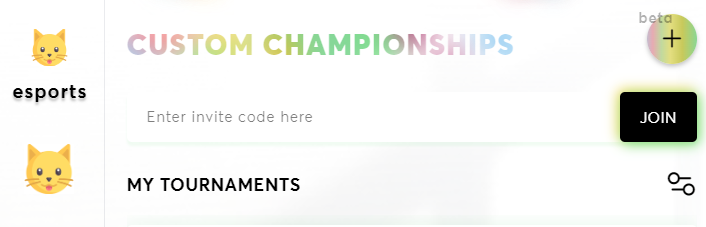
Creating Custom Tournaments

Nastya
Last Update 2 years ago
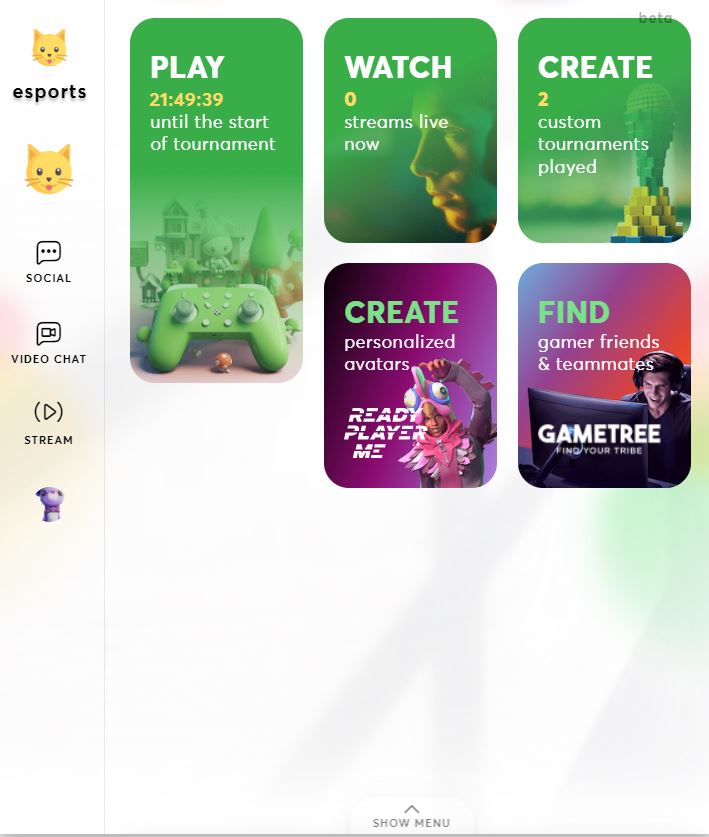
To get started, open the escs platform. At the bottom of the screen, you’ll see the "Show Menu" button. Click on it to reveal the available options. From there, select the "Create" tab to begin setting up your tournament.
Once you’re in the "Create" tab, you’ll notice a big plus button. This is your gateway to creating a new tournament. Click on it to start the process.
Step 3: Setting the Tournament Parameters
Now that you’ve initiated the creation process, it’s time to define the parameters of your tournament. These settings will determine how your tournament will run:
Stage Type: Choose the format of your tournament. Options include:
Brackets
Free for All
King of the Mountain
Seed Mode: Decide how players will be seeded:
ELO (based on ranking)
ELO in the 1st round, then tournament points
Random (no seeding)
Score Type: Select the scoring method as defined by the game creator. This might include total points, wins/losses, or other criteria specific to the game.
Match Template: Determine the structure of each match:
Best of 1
Best of 3
Best of 5
Game Mode: Select the game mode, as predefined by the game creator.
Max Set Duration: Set the maximum duration for each match or set within the tournament.
Min/Max Players: Define the minimum and maximum number of participants allowed in the tournament.
Penalty Points: If applicable, specify any penalty points that can be assigned for rule violations or other infractions.
Break Between Rounds: Set a break period between each round to allow players time to rest or strategize.
Tournament Name: Give your tournament a unique and memorable name that participants will recognize.
Tournament Start Time: Choose when the tournament will begin. You can set it to start immediately or at a scheduled time.
Max Tournament Players: Set a limit on the number of participants who can join the tournament.
Participate in Tournament: Decide if you want to participate in the tournament or organize it.
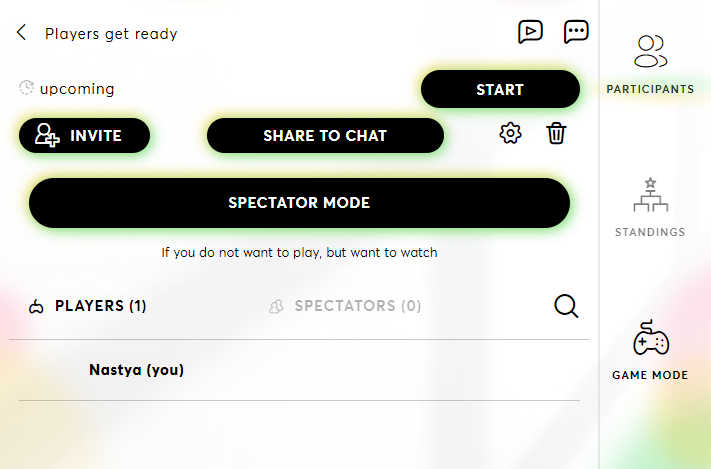
Step 4: Inviting Players
After setting up your tournament, it’s time to invite your friends. Locate your newly created tournament in the list and click on it. You’ll see a range of options:
Invite: The escs platform will generate a unique link for your tournament. Copy this link and share it with anyone you’d like to invite.
Share to Chat: If you have in-game friends, you can easily send the invite link directly to your chat with them.
Spectator Mode: If you prefer not to play but want to watch the matches, you can switch to spectator mode.
Settings Icon: If you need to change the tournament settings, click on the settings icon.
Trash Bin Icon: If you decide not to proceed with the tournament, click the trash bin icon to delete it.
Start: Once everything is set, click the "Start" button to begin the tournament. All participants will receive a notification that the tournament is starting.
Step 5: Wrapping Up the Tournament
As matches are completed, the escs platform will automatically calculate the results and update the standings. When the final game concludes, the system will announce the winner and display the final rankings.
Creating custom tournaments on the escs platform is a fantastic way to gather your friends and enjoy some friendly competition in your favorite games. Whether you’re aiming to prove your skills or just looking to have fun, the escs platform provides all the tools you need to organize and manage your tournaments with ease.